
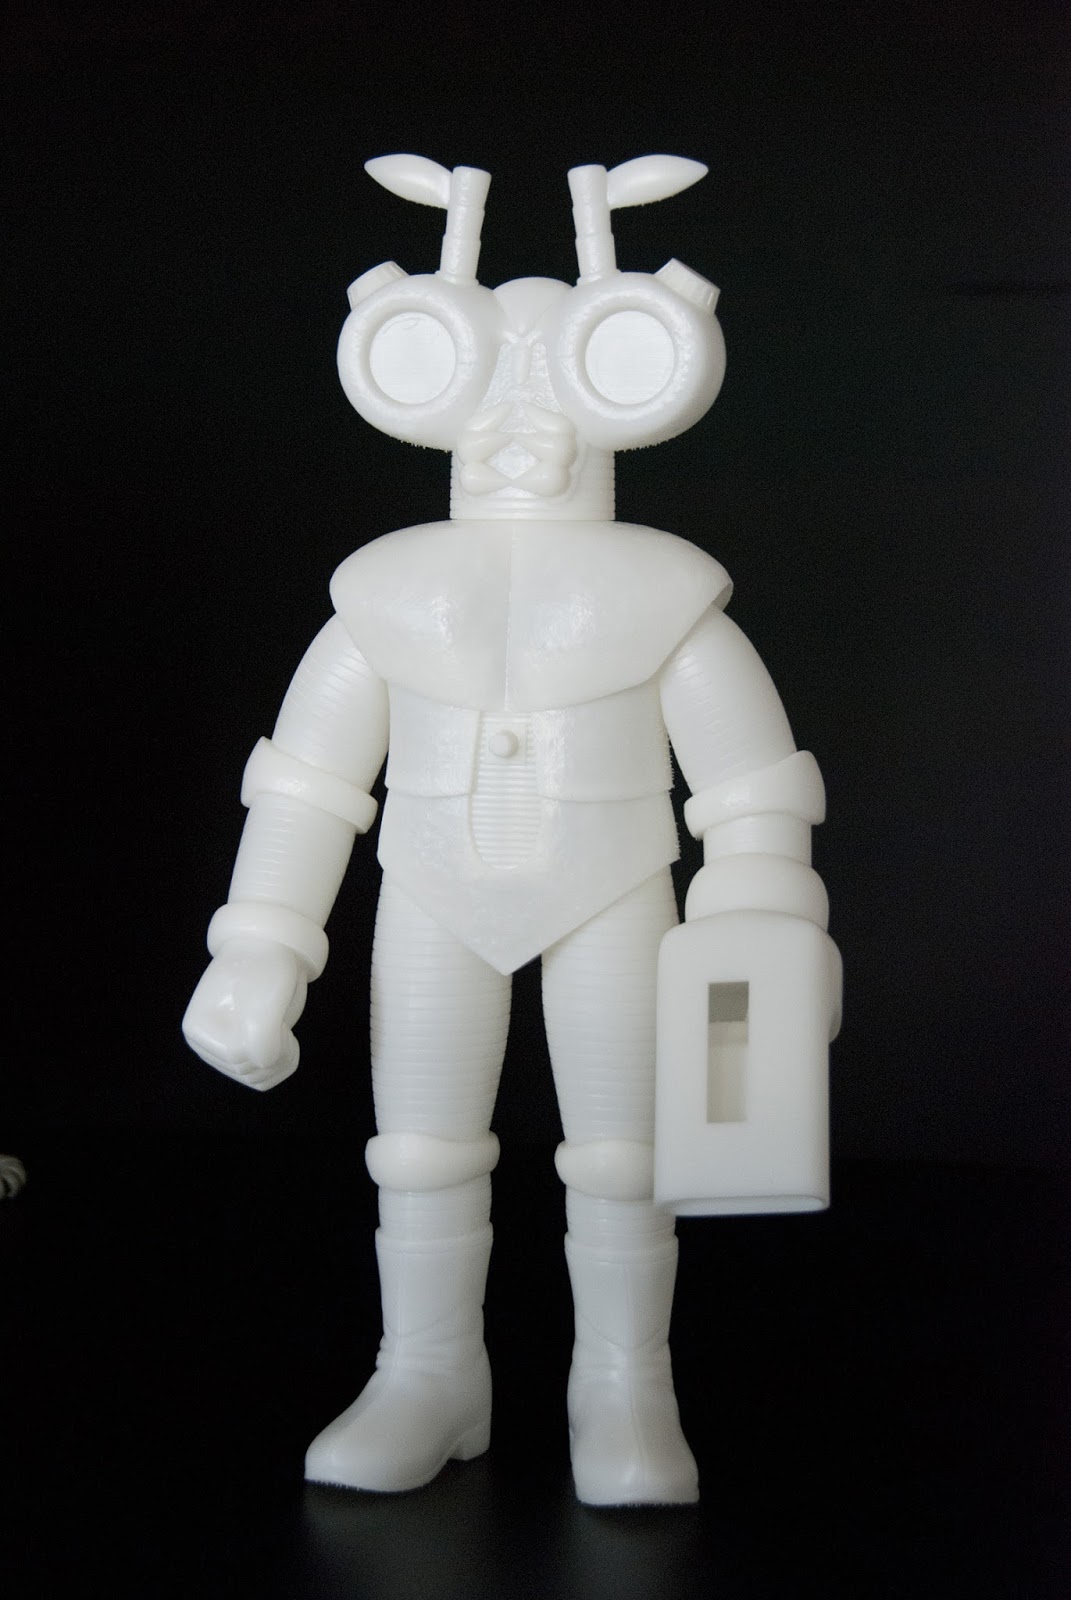
Yes, he's finally here. After hours and hours of work on the modeling and finding a way to print the grainy surface, Lenzari is here. I was sooooo anxious about the print. Even if the test came out great, there's always a chance that it's not printing properly again. And there was a few hard decision to make regarding print orientation and the chances that it's coming out weird.
And before talking about this guy, I still don't know how to spell it properly. I think that normally it's Lensari, because his name comes from Ari in Japaneese for Ant and Lens for his lens shaped eyes. But I honnestly prefer to write it Lenzari because it looks better. I love to have a Z in a word hahahahahaha.
Well, the final result is really nice and once again I have to thank all the team at i.materialise for all their effort and the quality they continue to level up each time.
What's interesting is that I was afraid of the grain surface but actually that's what came out the best. Almost no need of post process on those parts.
Enough talking, here's a few picts of it.
The choice of orientation I was talking before was mainly on the body. When you 3D print something with almost all printer, there's visible print layers. If the body was printed in a vertical position, with the curve of the shoulders there might have been little print layers on the shoulders and it would have been almost impossible to remove them. I would have to sand it and this would remove all that grain for which I've spend so many hours to get properly. The idea was to print in standing on the side. This way, the tiny print layers are on the left and on the right under the arms on the character.


On this picture you can see on the right side of the body, sime little pegs. Those are the remaining parts of the support structure.
During the print process, the parts are not self supported, so there's some kind of support structure build around the piece to support the weight and it's connected to the piece with little pegs like this. I was afraid that too much structure will be needed for this print. But it turns out that not so much was necessary. That's really the good news of the day.


Next step will be the ultra boring sanding process. But the good news is that there's a lot of grain surface on it that doesn't require sanding. So it will be mainly the legs and arms and of course his amazing launcher. For that one I still need to figure out how to make the metalic cover but I have some ideas somewhere in my head.
And for that one, I've decided to paint it myself. It's one of the fun part of the process and I was a bit sad to let it go for my Garada and for the Green Ghost. So this time I will keep some fun for me. Just hope I will be able to do it perfectly. But it souldn't be that hard. My airbrush skills might be more than enough for it.
Thanks for reading and stay tune for the next step.
And before talking about this guy, I still don't know how to spell it properly. I think that normally it's Lensari, because his name comes from Ari in Japaneese for Ant and Lens for his lens shaped eyes. But I honnestly prefer to write it Lenzari because it looks better. I love to have a Z in a word hahahahahaha.
Well, the final result is really nice and once again I have to thank all the team at i.materialise for all their effort and the quality they continue to level up each time.
What's interesting is that I was afraid of the grain surface but actually that's what came out the best. Almost no need of post process on those parts.
Enough talking, here's a few picts of it.

During the print process, the parts are not self supported, so there's some kind of support structure build around the piece to support the weight and it's connected to the piece with little pegs like this. I was afraid that too much structure will be needed for this print. But it turns out that not so much was necessary. That's really the good news of the day.

You can see how detailed is the print here for the grain surface. And as you can see there's also the little pegs under the head as this parts was printed vertically. One of the stupid thing that really excite me with that project is that there's stickers for the eyes. Until now, all my villains were fully painted and no stickers at all. But for that one, the final touch will the the stickers for the eyes.
One of the little detail that I'm not really happy is the lines on the arms. Actually it's not as deep as the one on the legs and on the head. It could have been a tiny bit deeper. Hope that after sanding the arms it will still look good. As it might be even less deep after sanding the arms to be perfectly smooth.
Here's more picts of this bad guy.


And for that one, I've decided to paint it myself. It's one of the fun part of the process and I was a bit sad to let it go for my Garada and for the Green Ghost. So this time I will keep some fun for me. Just hope I will be able to do it perfectly. But it souldn't be that hard. My airbrush skills might be more than enough for it.
Thanks for reading and stay tune for the next step.
Please don't ever stop making toys and sharing the process with the world. Just AWESOME!!!
ReplyDeleteThanks Mike. Well I have no plan to stop :)) And I have a lot of ideas in my mind, so I can do this for a long long time.
DeleteThanks for your support, it's always nice to have some nice feedback.
Looking spectacular, Mike! I'm glad you chose to paint this guy yourself. It's always more fun when you handle all the details on your own! ;)
ReplyDeleteThanks a lot Sanjeev. Yes painting is one of the coolest part on a project like this. So this time I've decide to do everything myself. I'm just a bit short on time for the moment. But hope to have it finish in 10 days or something like this.
Delete